Starting out in photography can feel overwhelming, but many mistakes beginners make are easy to fix once you know what to look for. Here are five common pitfalls — and how to avoid them
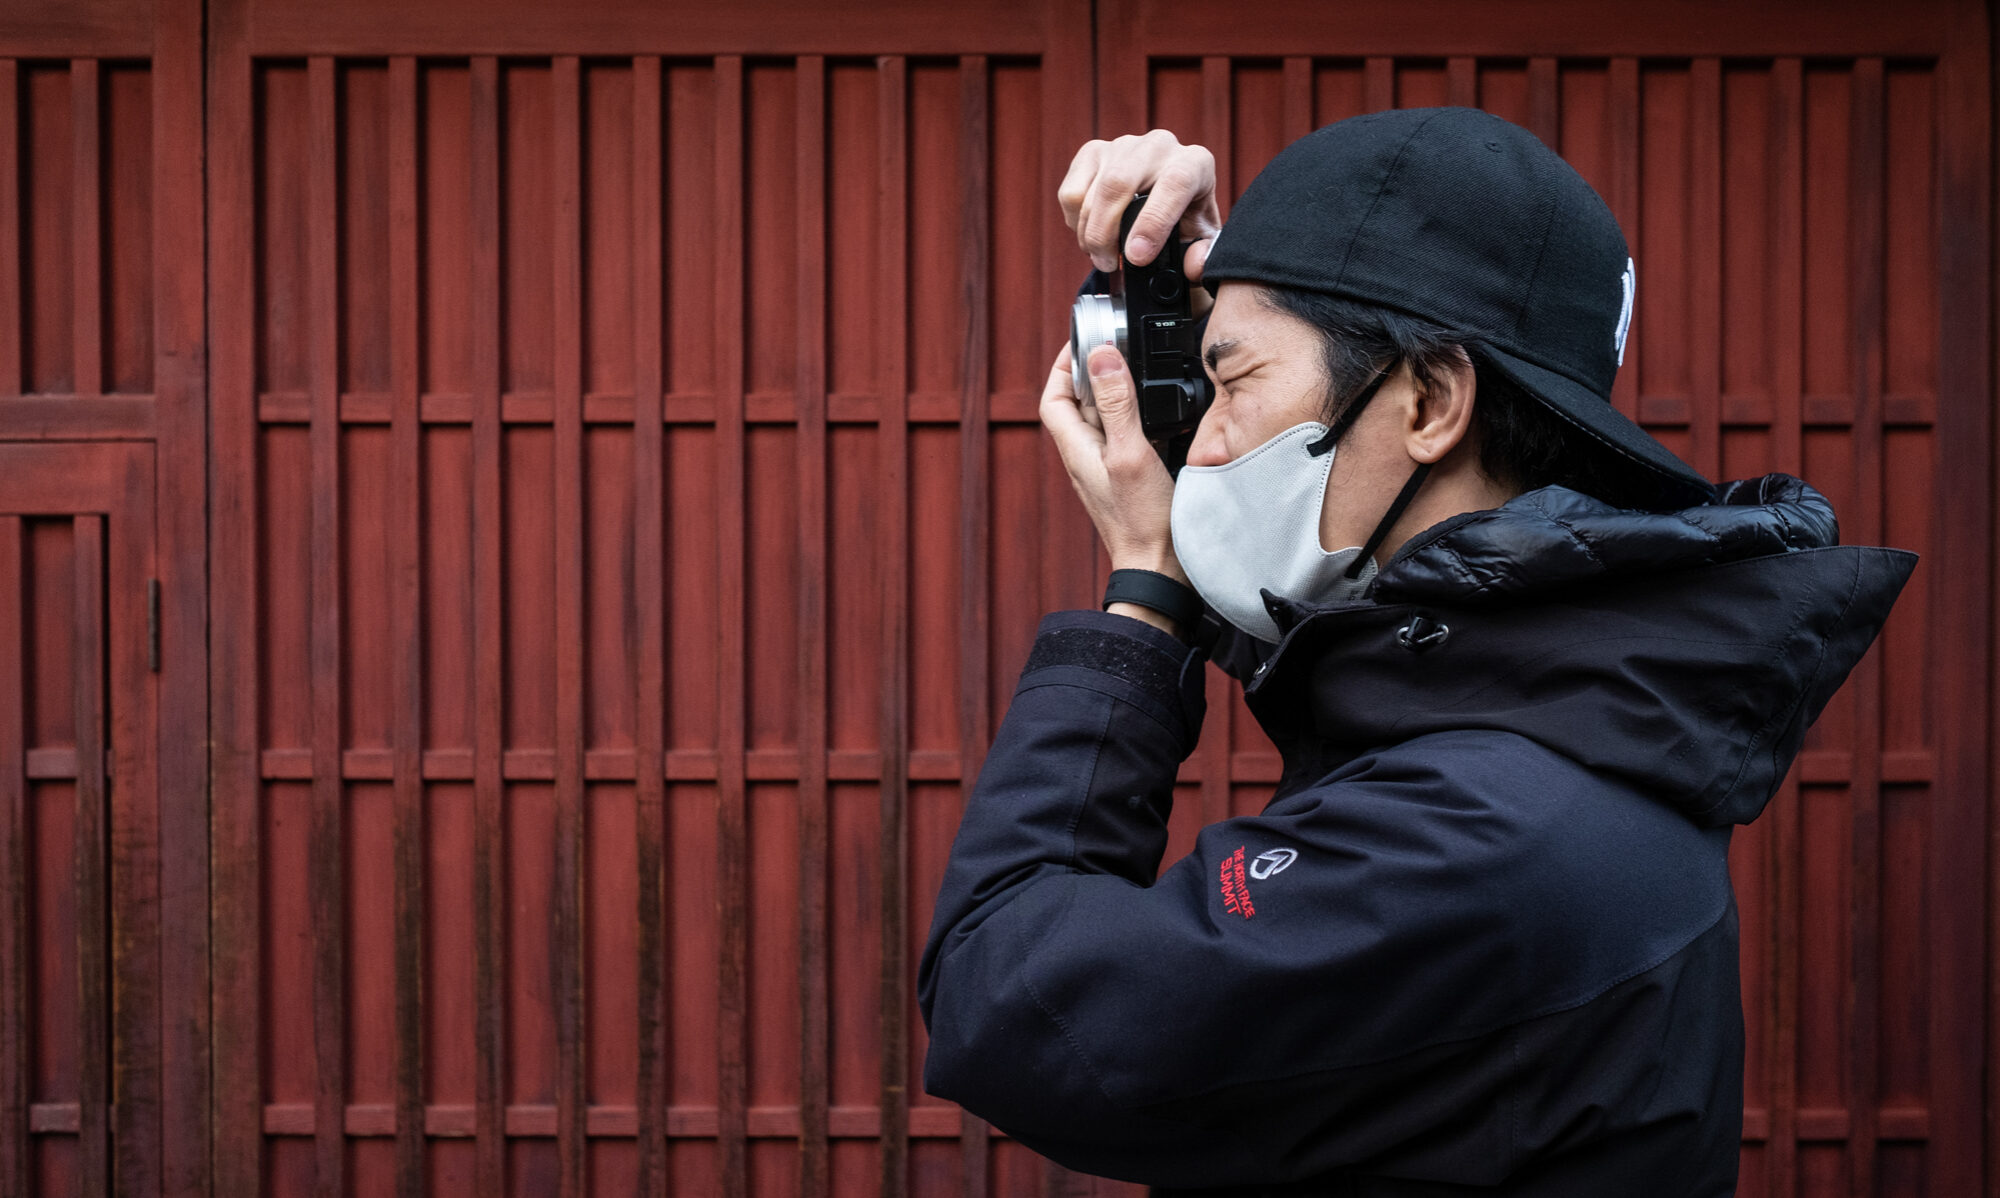
1. Shooting in Auto Mode All the Time
If you’ve invested in a designated camera — like a DSLR or mirrorless — you’re serious about making photos. These cameras offer full manual control for a reason.
The exposure triangle (shutter speed, aperture, ISO) affects your image differently:
• Shutter speed freezes or blurs motion
• Aperture controls depth of field
• ISO affects noise, not creativity
With digital cameras, ISO is flexible — so focus your creative control on shutter speed and aperture. Once you master manual mode, you’ll understand when and how to override auto settings with confidence.
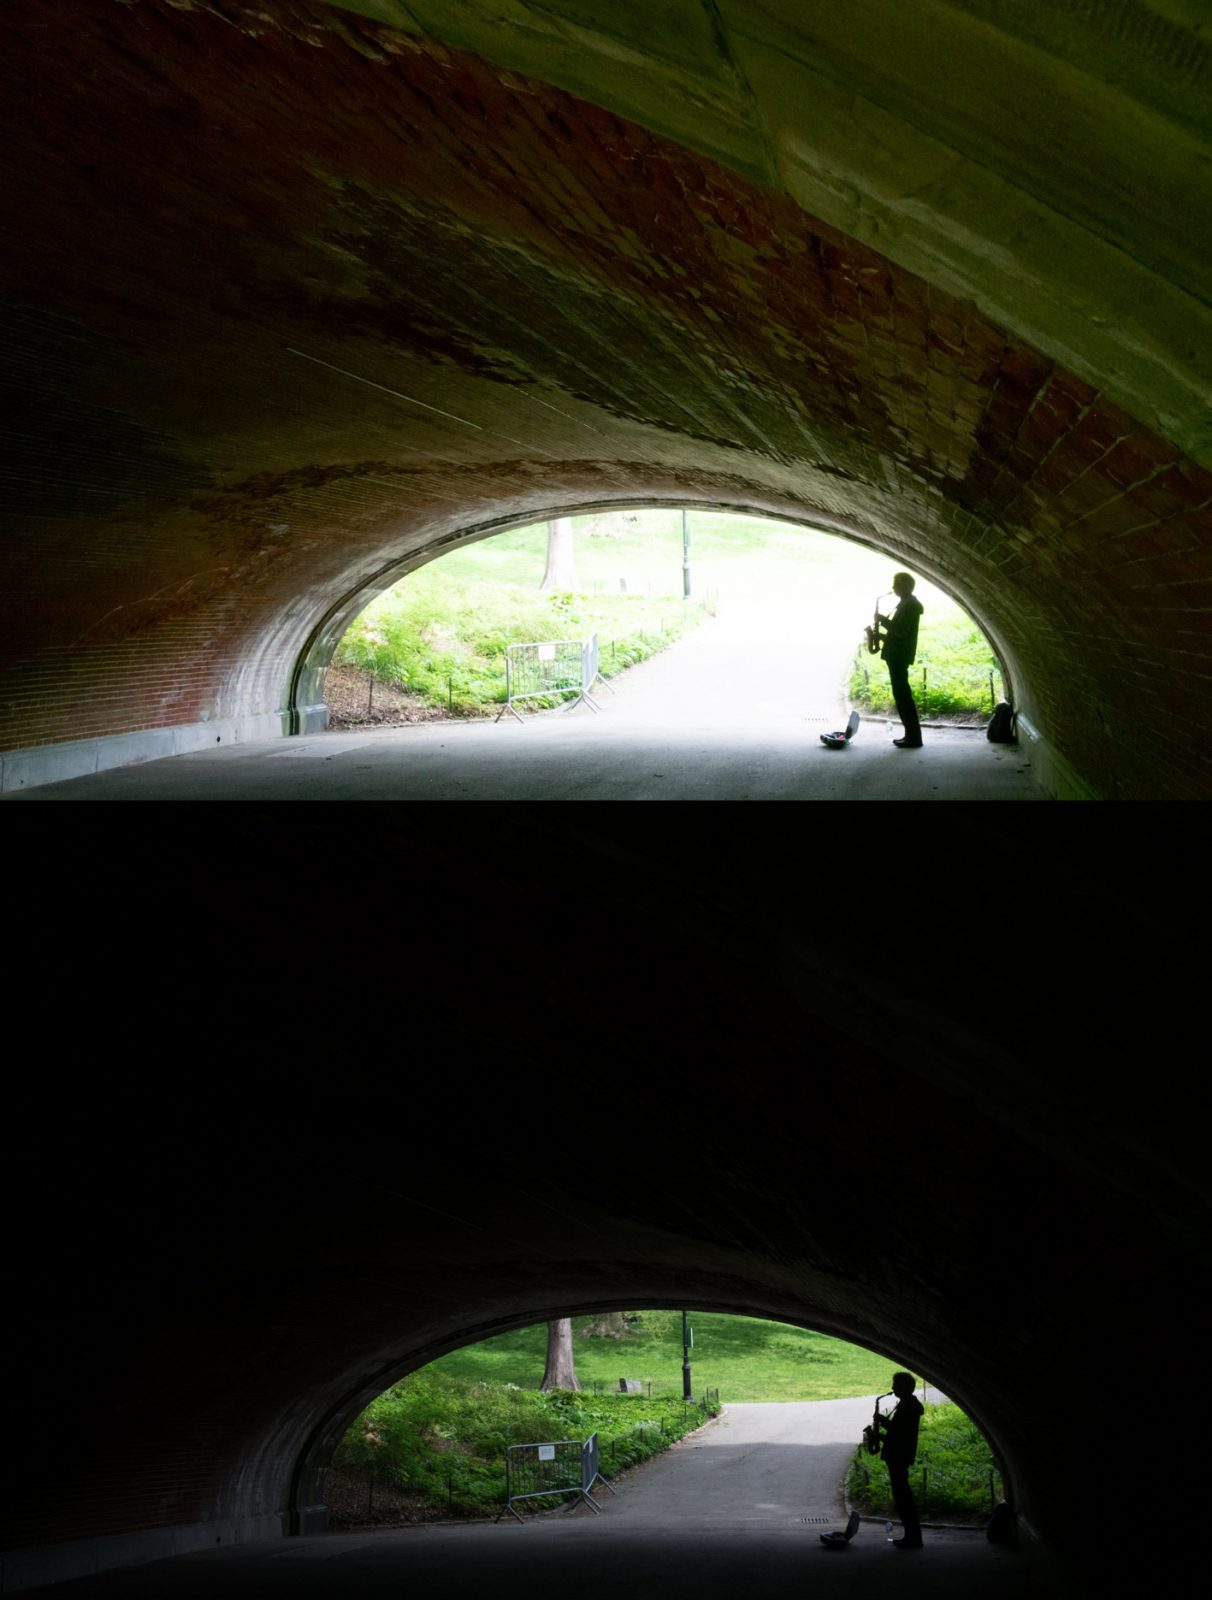
2. Not Understanding Light
One of the biggest breakthroughs in photography happens when you realize: light isn’t just brightness — it’s mood, texture, and direction. It’s the paint you use to create a photo.
Many beginners shoot without noticing how light falls on their subject or scene. They don’t yet look for where the light is coming from, how soft or harsh it is, or how shadows and highlights shape the image.
Learning to observe and use light — even natural, available light — is one of the fastest ways to level up your photography without buying a single piece of gear
3. Overediting Photos
If auto-tune in music isn’t truly the work of a singer, then over-editing isn’t truly the work of a photographer.
Photography is about using a camera to create a photo in the moment — not relying on software to fix it later. How your photo turns out should reflect your mindset, attention, and approach while making it.
To improve in photography, you must improve at the act of photography: see more, think more, notice the details, and be ready to capture the decisive moment. When you constantly rely on editing to rescue a weak image, you stop yourself from growing — especially as a beginner.
Post-processing is meant to enhance without completely altering the original — not to correct a careless shot or turn it into a photo you didn’t actually make.
4. Ignoring Composition Basics
In any creative work, there needs to be structure — a foundation. Photography is no different. The basics of composition are the rules of success. If you ignore them, you won’t just miss out on creative potential — your images may collapse altogether.
Learning just a few essential techniques can go a long way. Start with things Rule of Thirds, leading lines and negative space — these alone can dramatically improve your visual storytelling.
And most importantly, as I always tell my students:
“Less is more.”
Don’t overcrowd your frame with details that don’t support your image. They distract the viewer and weaken your photo’s impact
5. Not Practicing Consistently
Like with any craft — whether it’s photography or even making a great cup of coffee — consistency is key. It comes from a combination of frequency and intensity, both of which are essential to improving.
Start with something as simple as operating your camera. If you don’t practice enough, your consistency will suffer. You’ll fumble with exposure, miss focus, or forget how to access key settings — and when it matters most, your shot will be delayed.
When you lack practice, the execution of the photo you envision will come too late.
A great way to build consistency is to simply bring your camera out for a walkabout once or twice a week. Even just 90 minutes to 2 hours of relaxed shooting time each week will drastically sharpen your eye, your timing, and your control.
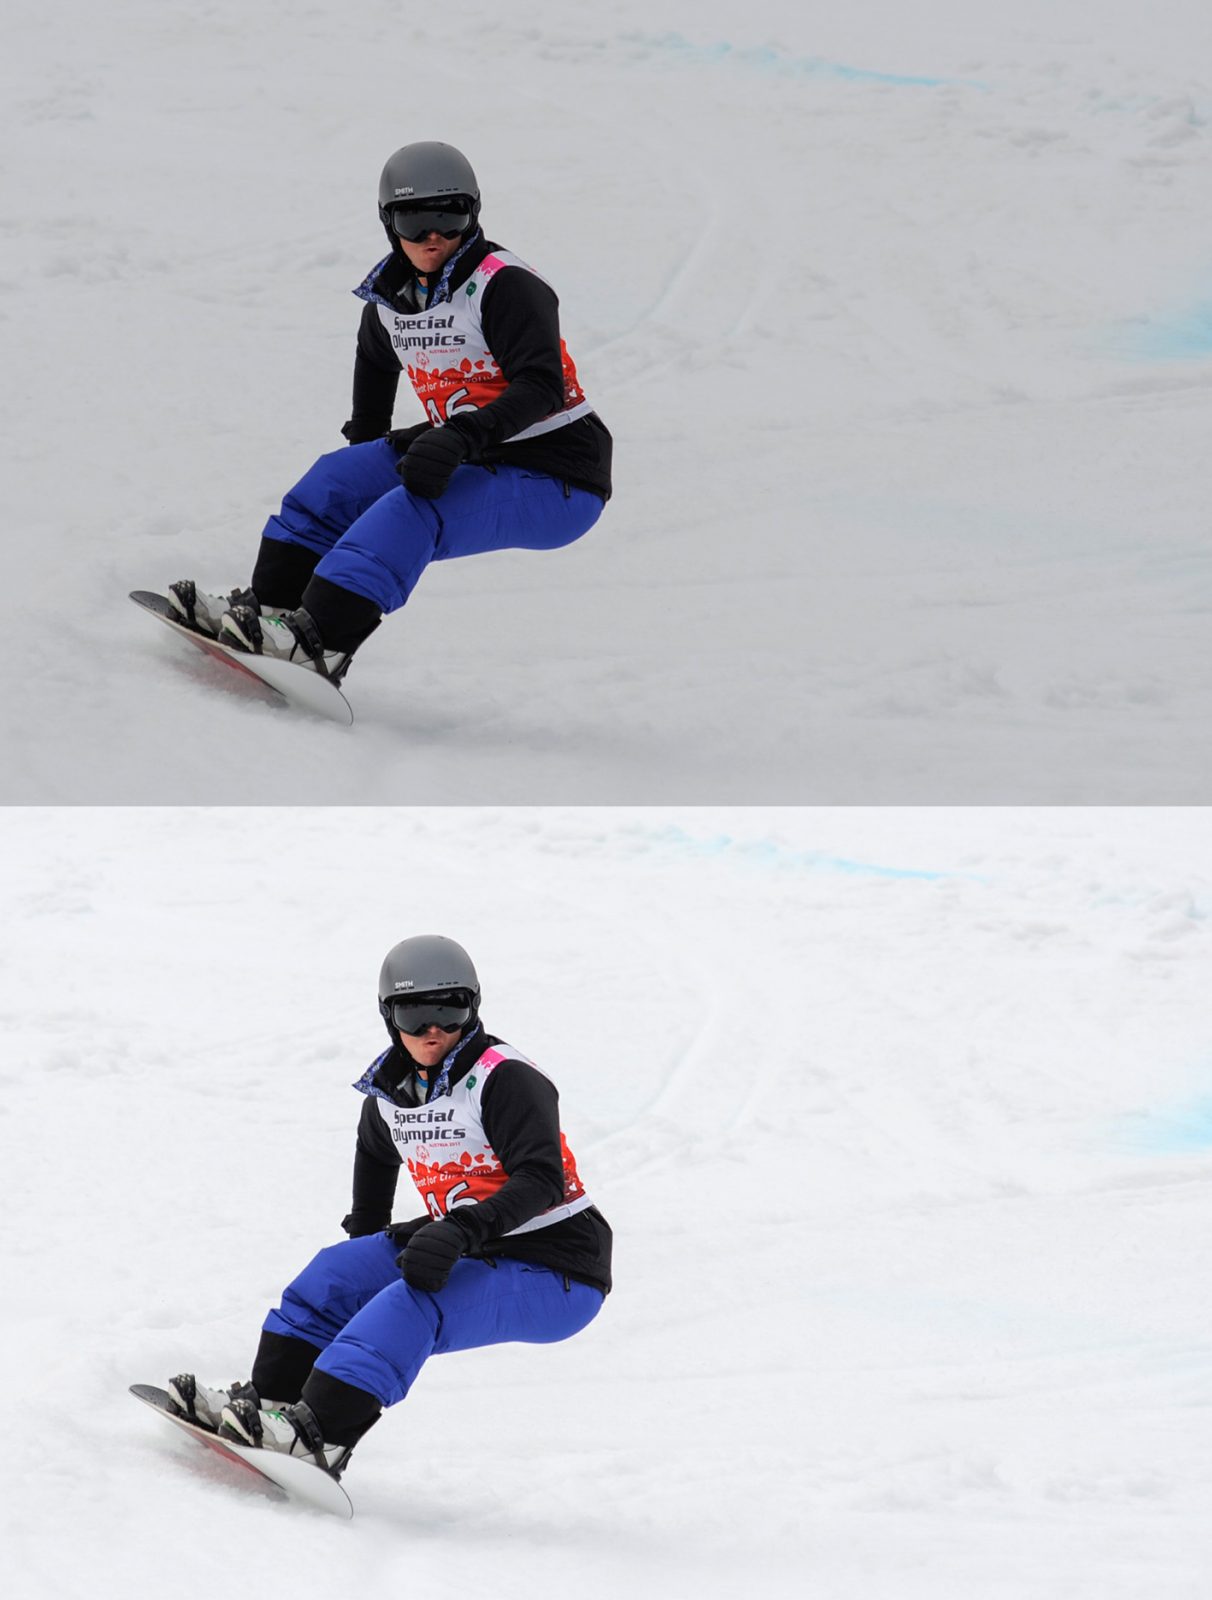


 LCDs can be hard to see in bright light, especially when there are bright subjects that you are photographing. Because an optical or electronic viewfinder limits extraneous light and your head blocks more light, both allow you to see the subject better for framing in those conditions. It also more sturdy as you are required to gentling press the viewfinder against your brow-bone(not your greasy nose!).
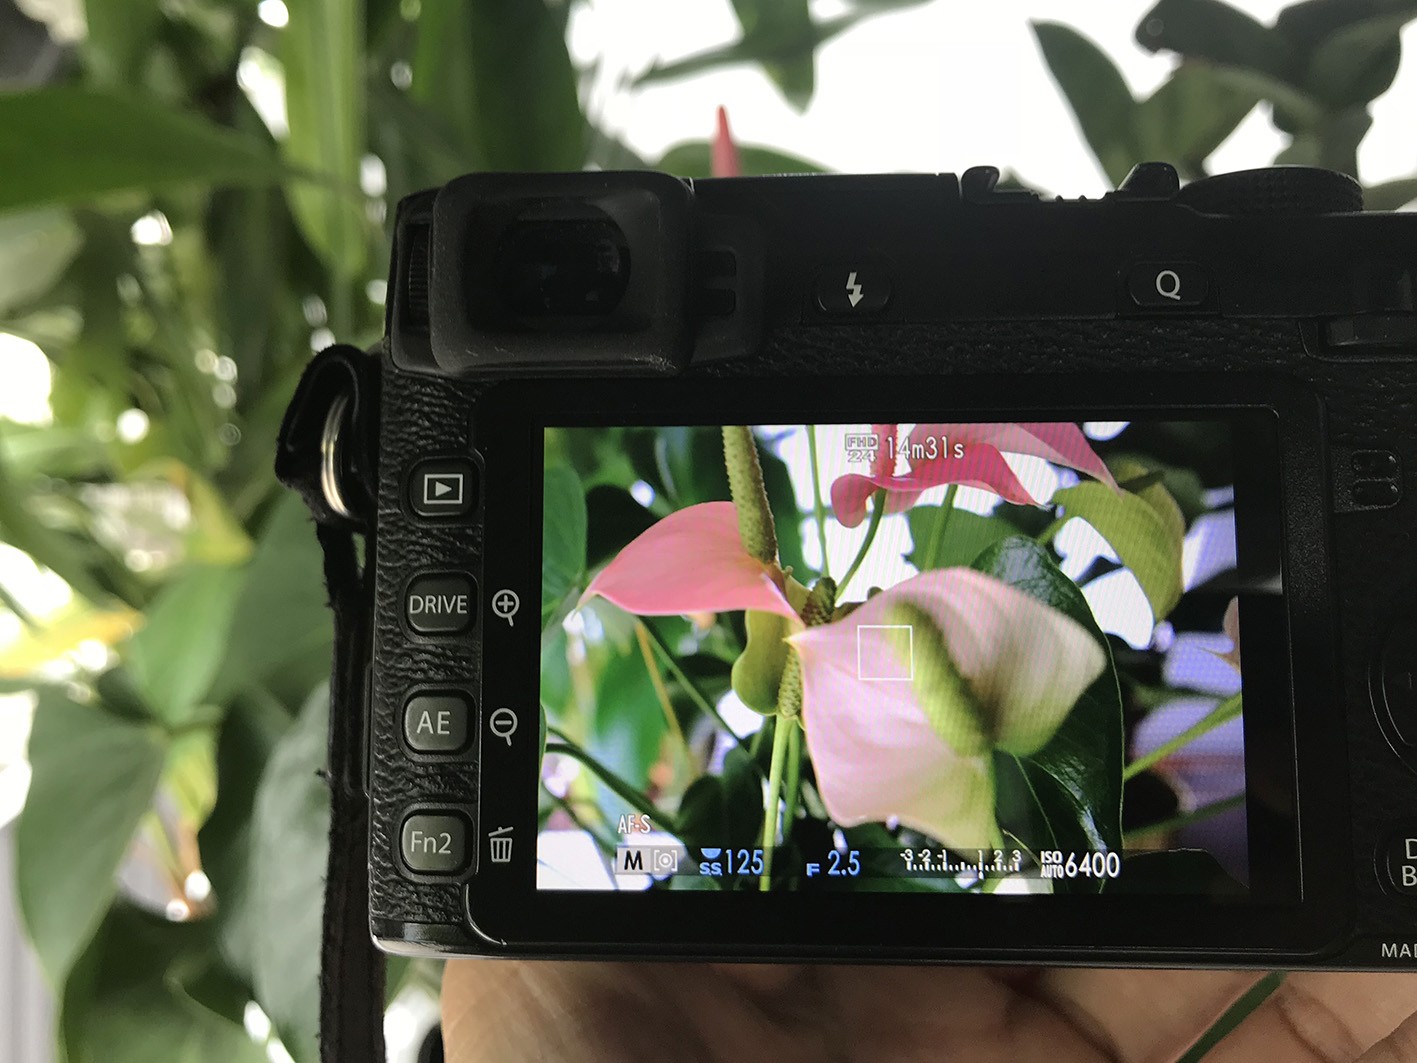 The LCD is ideal for shooting indoors. It has a consistent brightness, even if the light is low, which makes it easier to use than a viewfinder in those conditions. Of course, it is also much bigger to view, but because you have to hold the camera away from you in order to see it, it also means that it is not the most sturdy way of shooting, especially when slow shutter speed is being used.
 Movement can be hard to follow with an LCD held away from your face. This is where a viewfinder comes in handy You have to have the camera up to your eyes to use a viewfinder. This makes it easier to follow movement (the camera simply follows your gaze and distracting movement around the camera and LCD is blocked from view and not seen. Optical viewfinders are especially good for action.


You must be logged in to post a comment.