All digital cameras have a light meter built into them that reads the light level in a scene and assesses the combination of shutter speed and aperture required to get the “right” result. Provided nothing in the scene is very light or very dark, a camera’s internal meter works wonderfully.
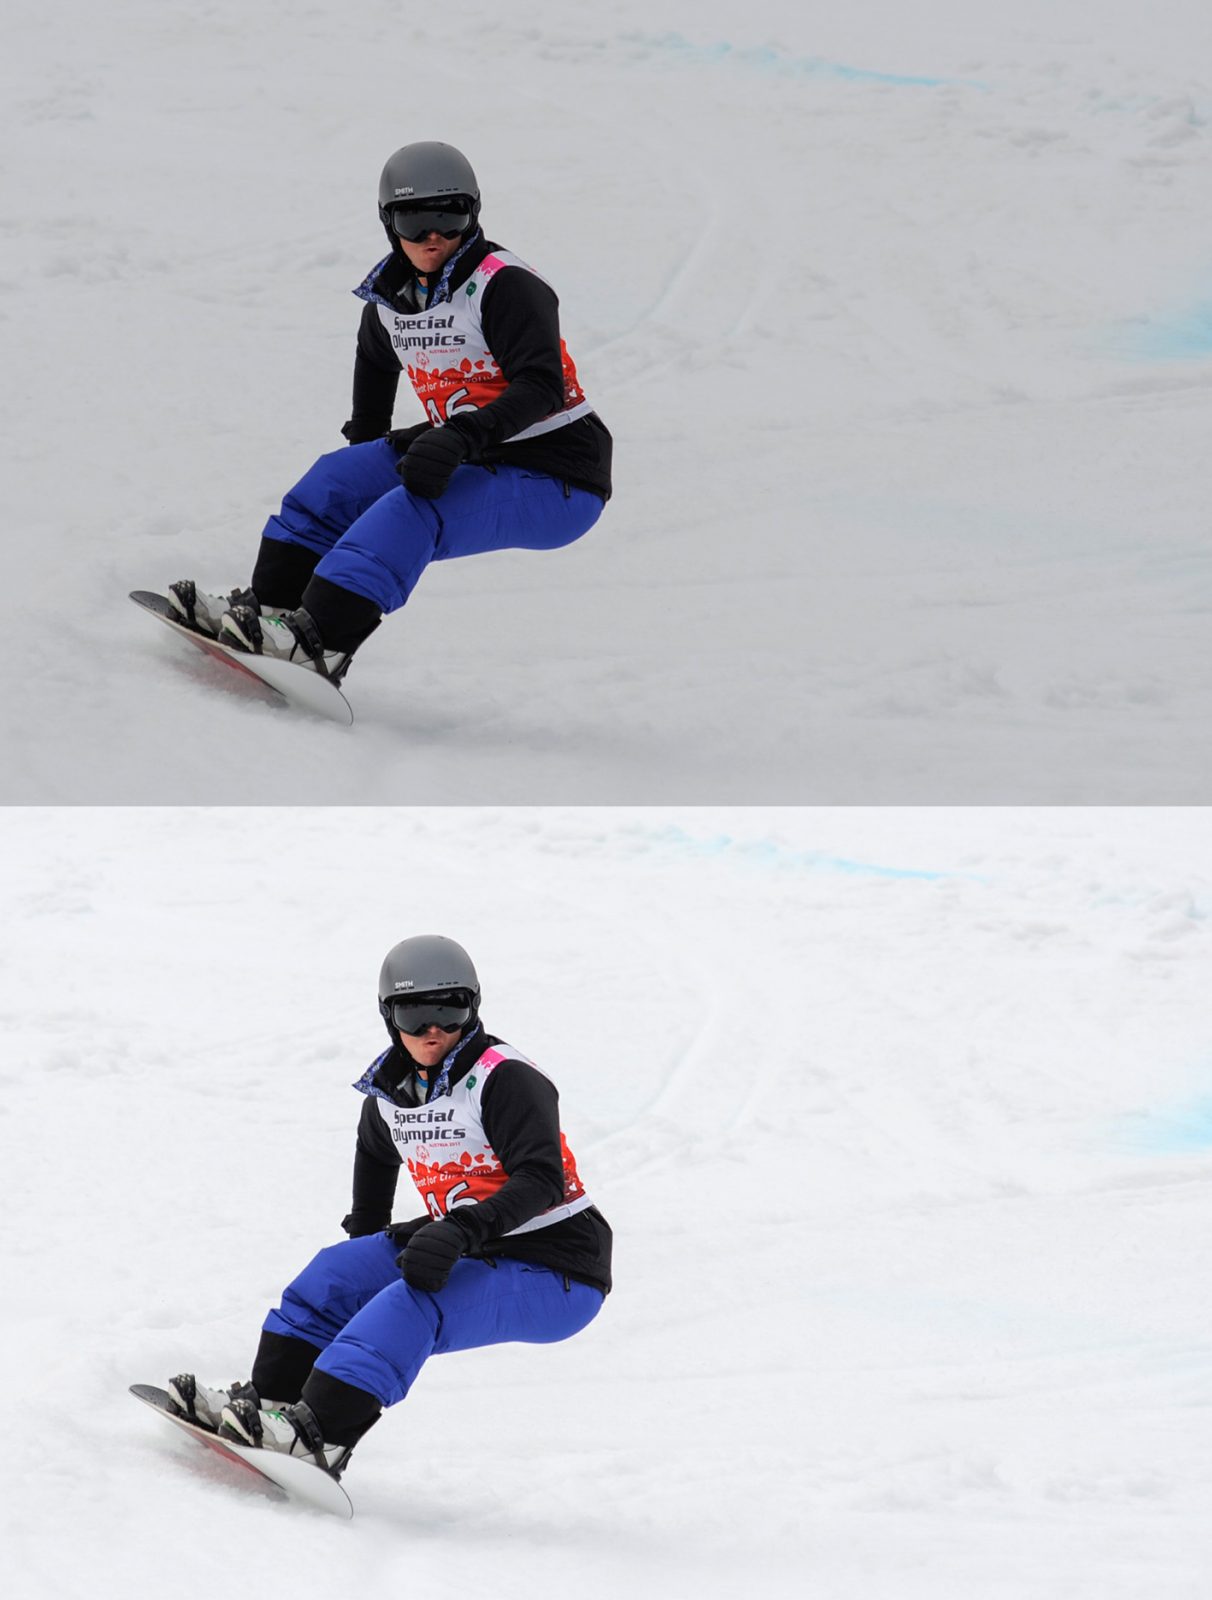
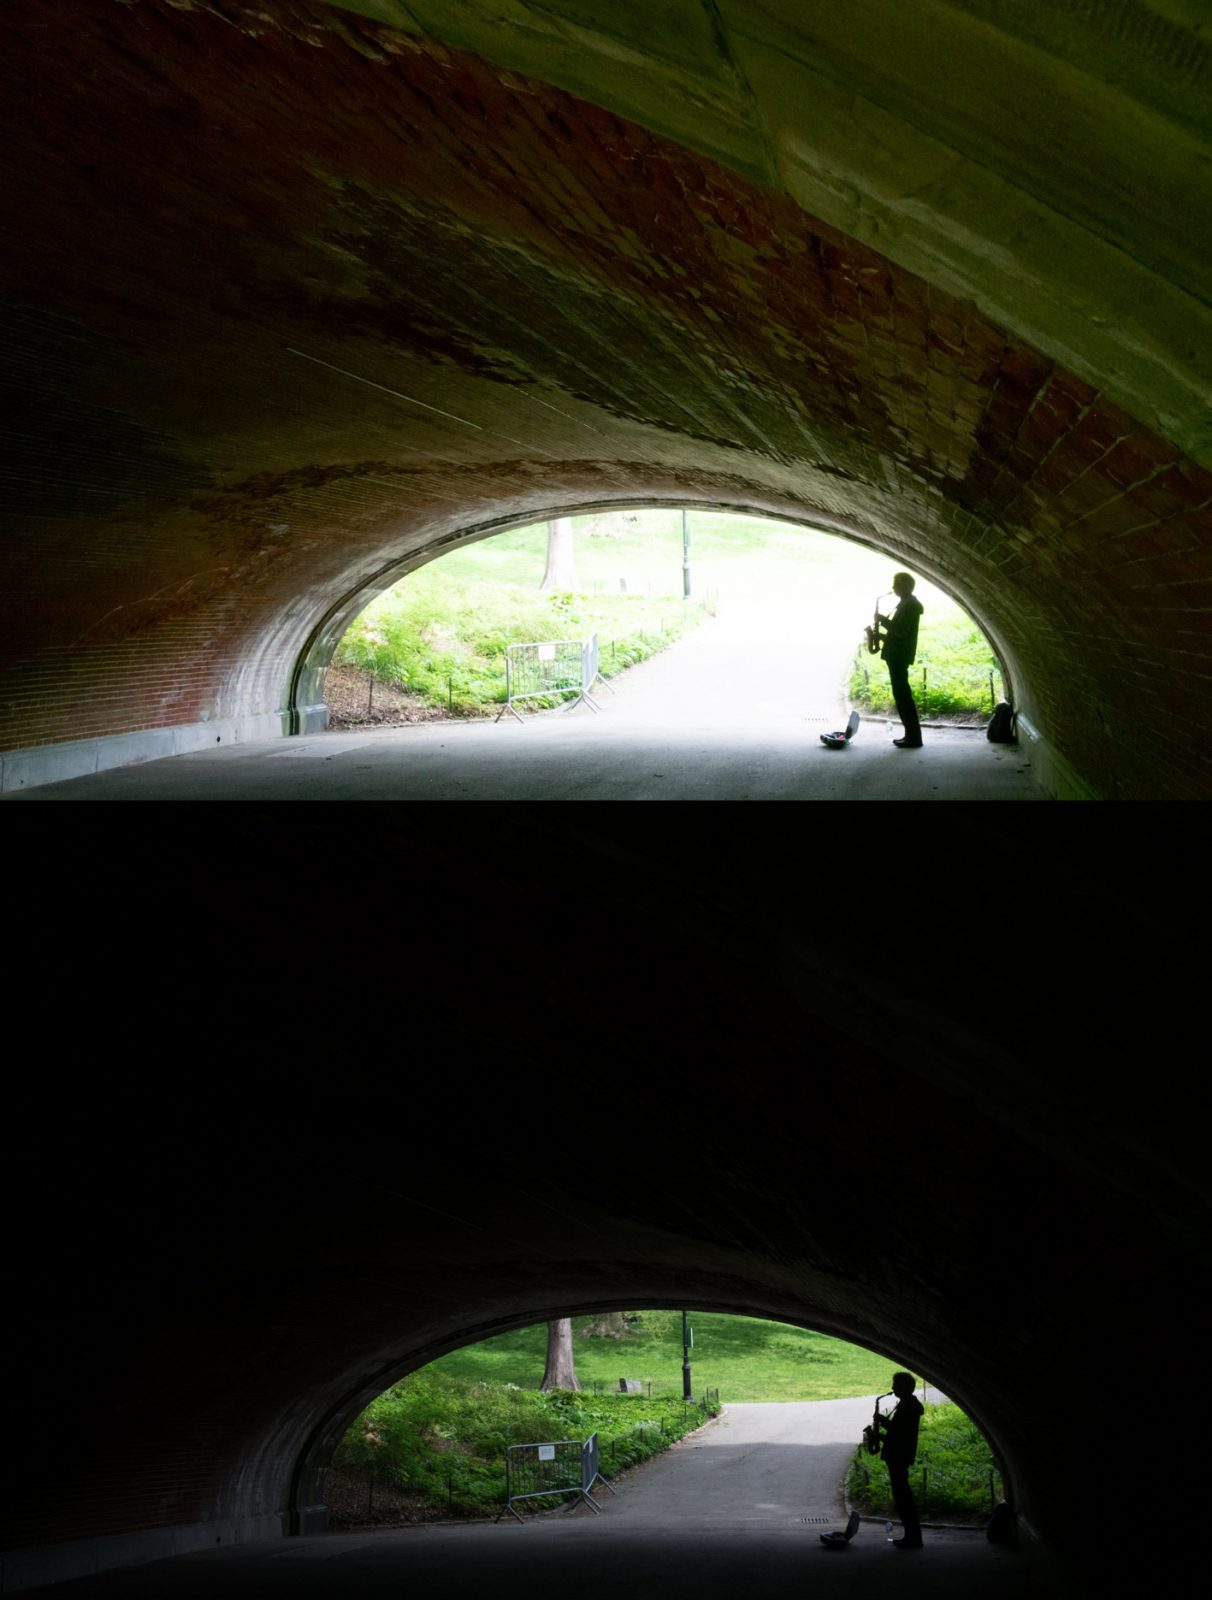
Problems may arise, however, when there are bright lights that create highlights or reflections, or the sun is in the scene. At the other end of the brightness scale, dark shadows or low light may also p a challenge. In situations such as these, the meter can be fooled. If you include too much bright snow from the scene, for example, the meter may determine that the whole scene is bright; consequently it tries to underexpose, and the result is too dark. Conversely, take a photograph in a shady wood and the camera tries to overexpose because this time there is not enough light.
Camera designers have been ingenious in finding techniques to deal with these issues. They have provided metering modes, a solution where the camera doesn’t measure light equally from across the scene. The different modes are described in the jargon buster.
However, it is an advantage with a digital camera to record a photo and look at the LCD screen to see if the result is too light or too dark. Take the picture again using the exposure compensation button: If it is too dark on screen, increase the exposure (go to the plus (+) side); if it’s too light, decrease exposure (move to the minus (-) side).
Jargon buster:
Center-weighted mode – the meter sensor takes most of the reading from the center of a scene.
Spot metering mode – takes a reading from a small area: You choose the part that is a mid-tone, take an exposure, and apply the exposure lock control to use this value for the whole scene. With practice, this is very accurate.
Matrix metering – sometimes called evaluative, multi, or electro-selective pattern(ESP), this is much harder to fool and is the most reliable method in a great majority of situations. The viewfinder is divided into a number of different segments and the meter sensor reads light from each one (the more segments it has, the less likely it is to be fooled). The readings are compared with combinations programmed into the camera’s memory. Most scenes can be accurately evaluated, apart from impossibly bright highlights or the proverbial black cat in a coal cellar.
You must be logged in to post a comment.